Managing Audience Segments
Segments are located in 3 places within LoopSpark:
Dashboard segments are segments that have been marked as visible on the dashboard. This is a valuable way to create visual sales funnels, identify clients that need specific conversations, and organize your audiences in a visual way to help staff understand points of opportunity to improve sales processes and in-gym sales conversations.
Your client list page is where segments are created and saved. The client list page allows you to:
- Create and save segments: Save a segment that will be commonly used to create audiences for communications, or helpful for reporting.
- Edit segment rules - Update the rules of a saved segment.
- Rename segments - Change the name of a saved segment.
- Make visible on dashboard - Allow the segment to be visible on your LoopSpark Dashboard.
- Copy to another location
- Export segment as CSV file - Export a list of clients that currently fit in your audience segment.
Automation Setup Step 2: Audience
Saved segments can be used for targeted communications by importing the rules when creating a new automation. For a walk-through on how to use a saved segment to build your automation’s audience, please refer to: Import Rules from Saved Segment .
Audience segments will be managed through the Manage Segments menu item, located in the top navigation bar: Settings -> Manage Segments.
This settings page will enable the categorization of segments for better organization and dashboard display, as well as management of segment order, making segments visible on dashboard, assigning segments to categories, and archiving/unarchiving saved segments.
Segment Categories
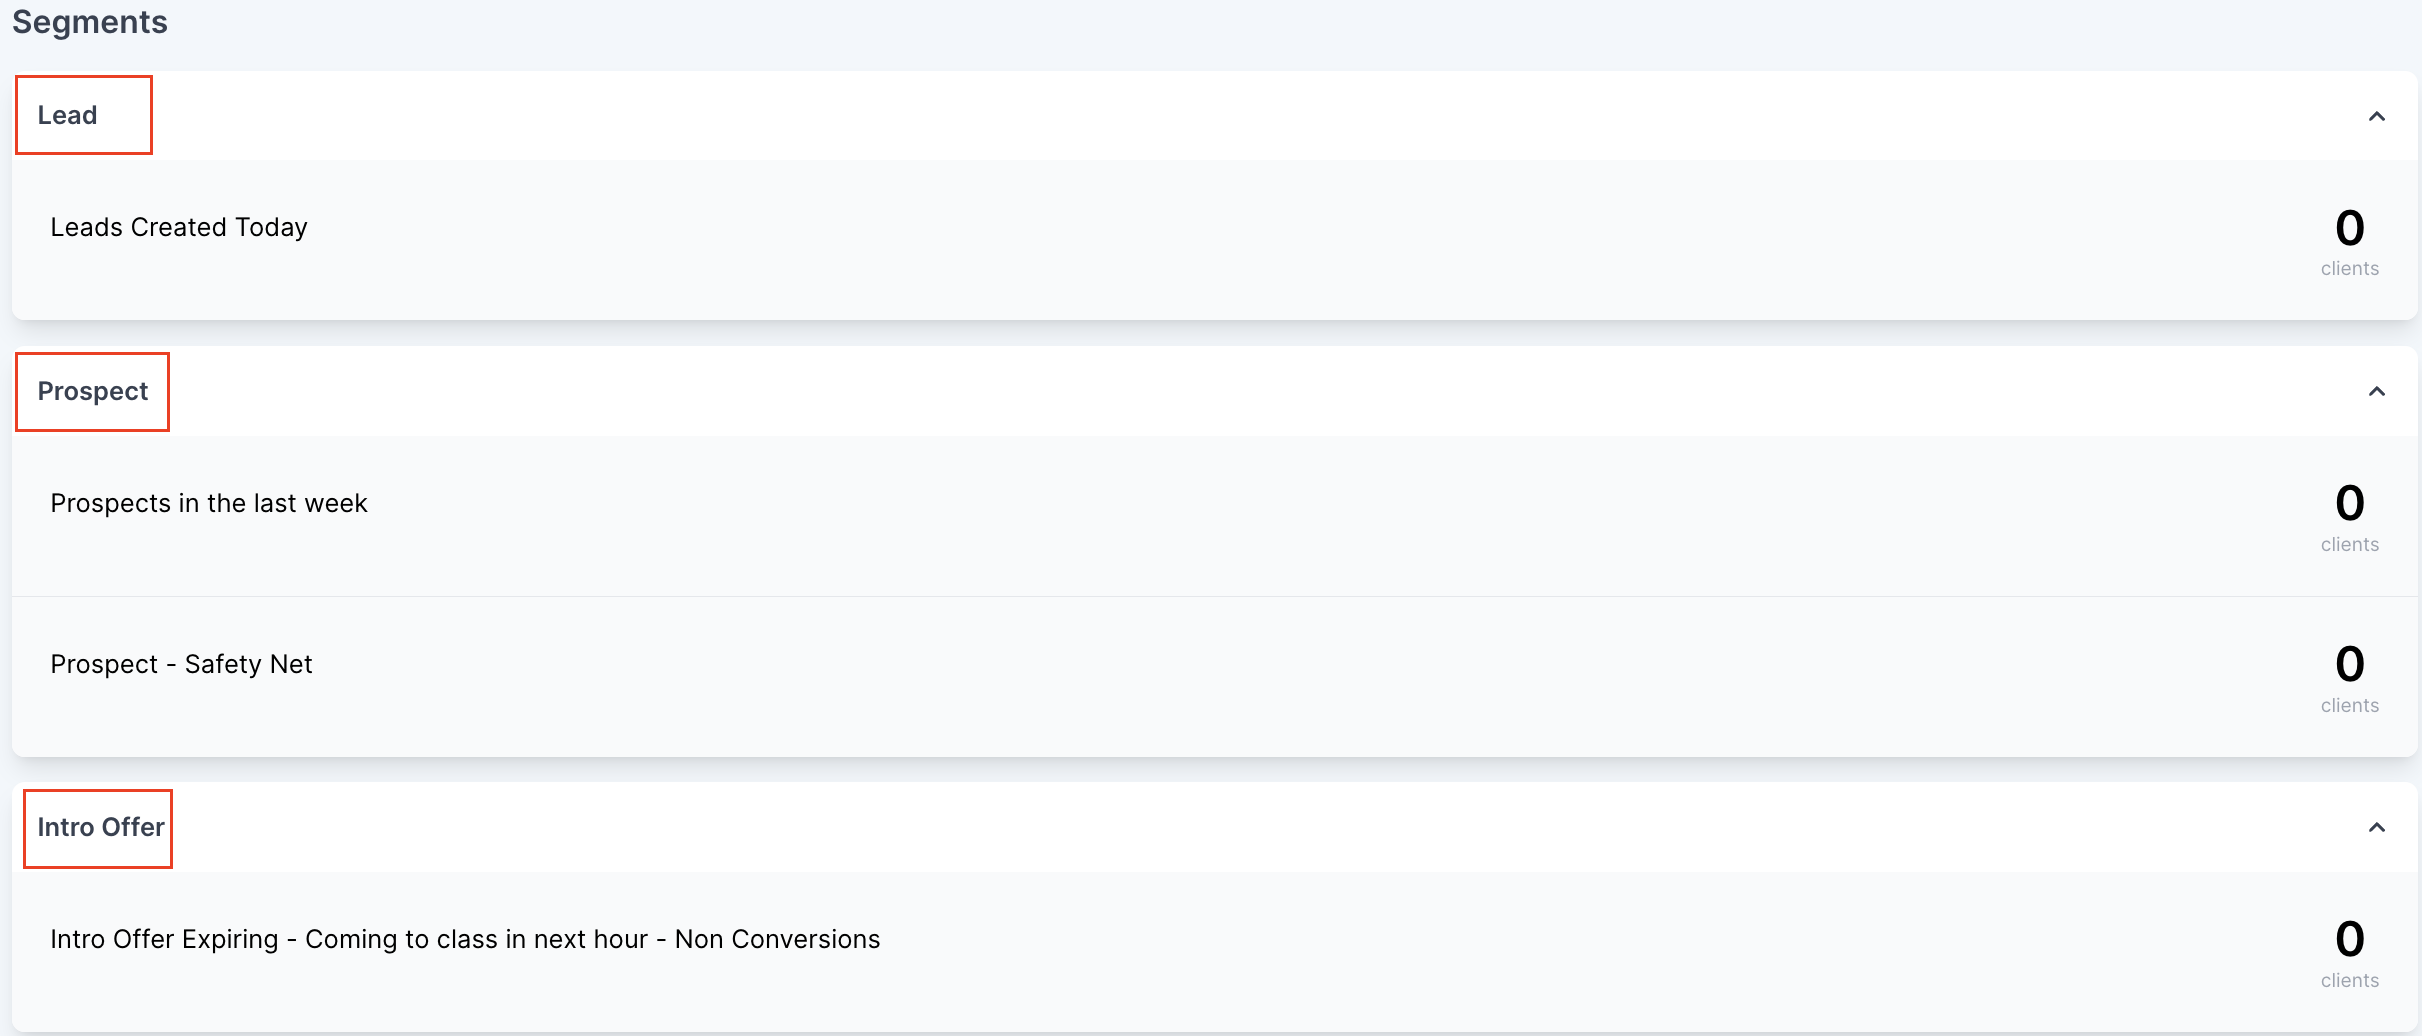
Segment categories allow you to organize segments based on similar use, providing better display on your dashboard for visual sales funnels and helping your team focus on specific data sets. Segments within a specific category, if marked as visible on dashboard, will be organized in a category container.
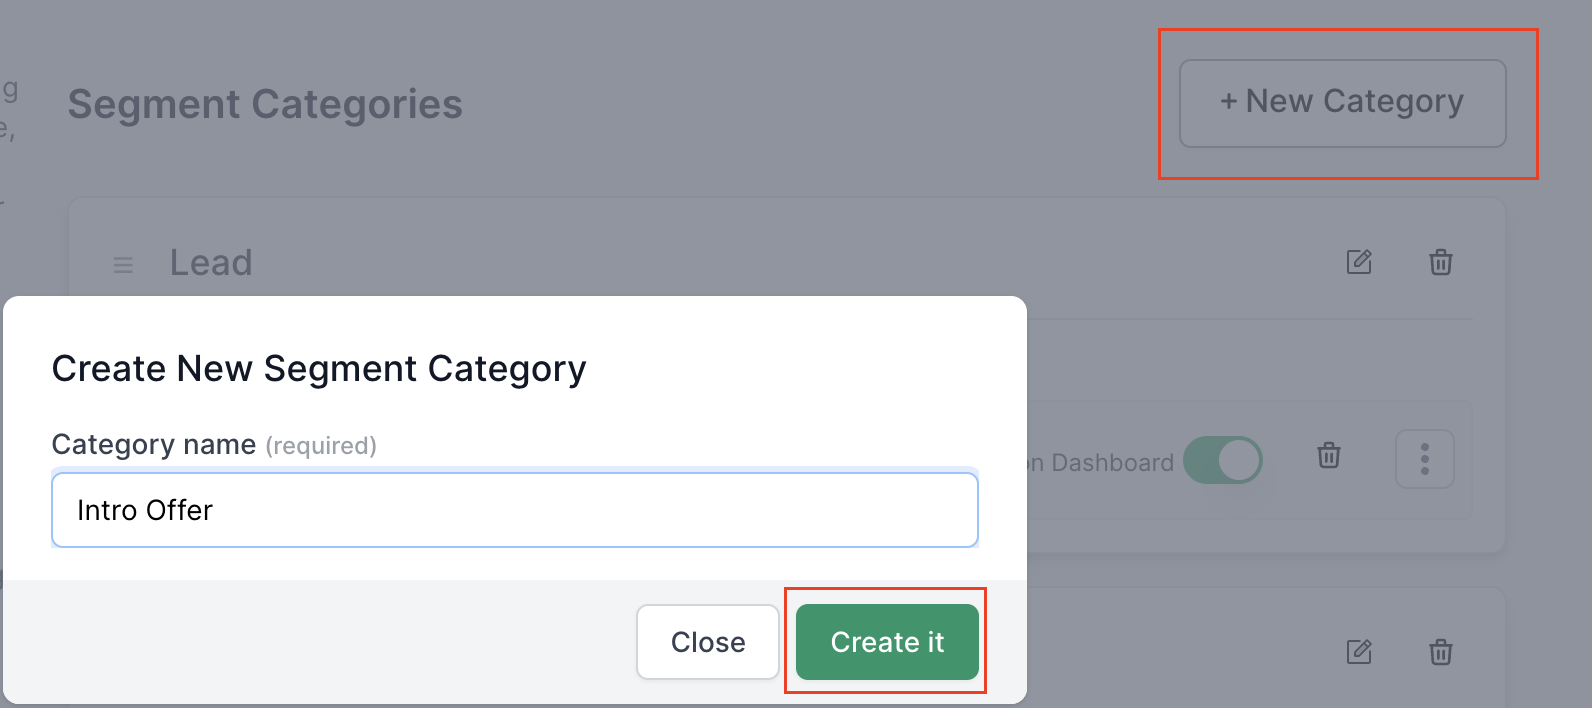
Creating segment categories
The first step of organizing your segments into categories will be creating your segment categories:
- Navigate to: Manage Segments
- Click
+ New Categorybutton in the upper right corner of the manage segments screen - Name your category and save
Re-order segment categories
Segment categories can be re-ordered, controlling the order in which they appear on your dashboard.
- Click the 3 stacked lines icon located on the left of a category name
- Drag the category up or down to change the order
Add segment to category
Once your segment categories have been created, you can assigned saved segments to these categories from your Manage Segments settings page.
- Click the 3 stacked dots icon located on the right side of a saved segment
- Select a category for this segment
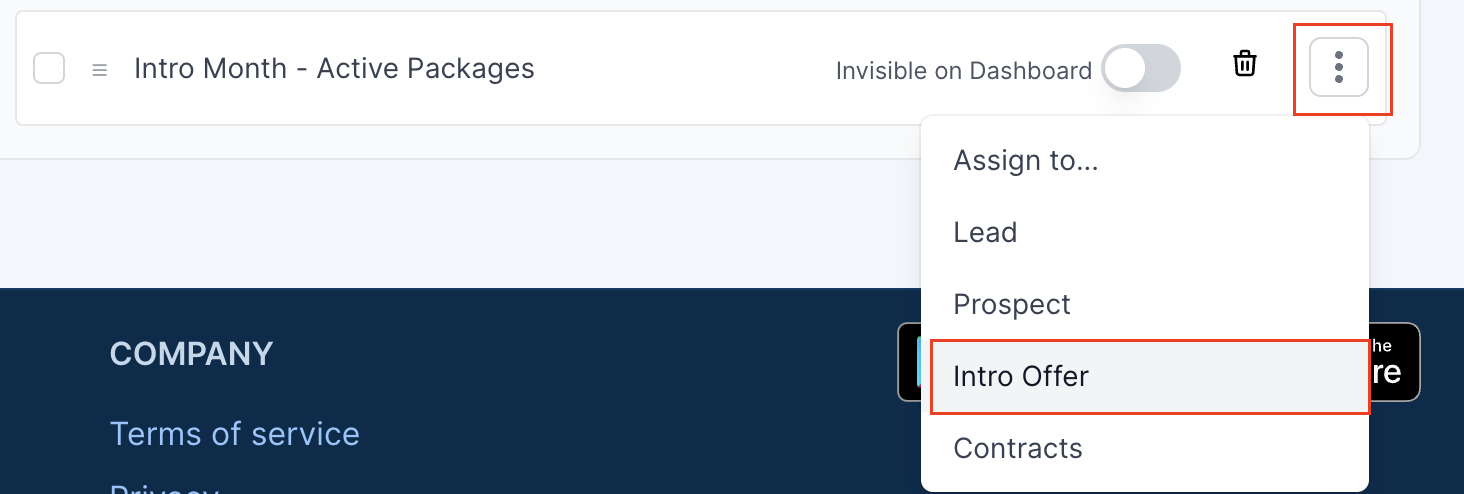
You can also conduct this process in bulk (assign multiple segments to a category) by clicking the checkbox to the left of your segment names, and selecting the bulk action “assign”
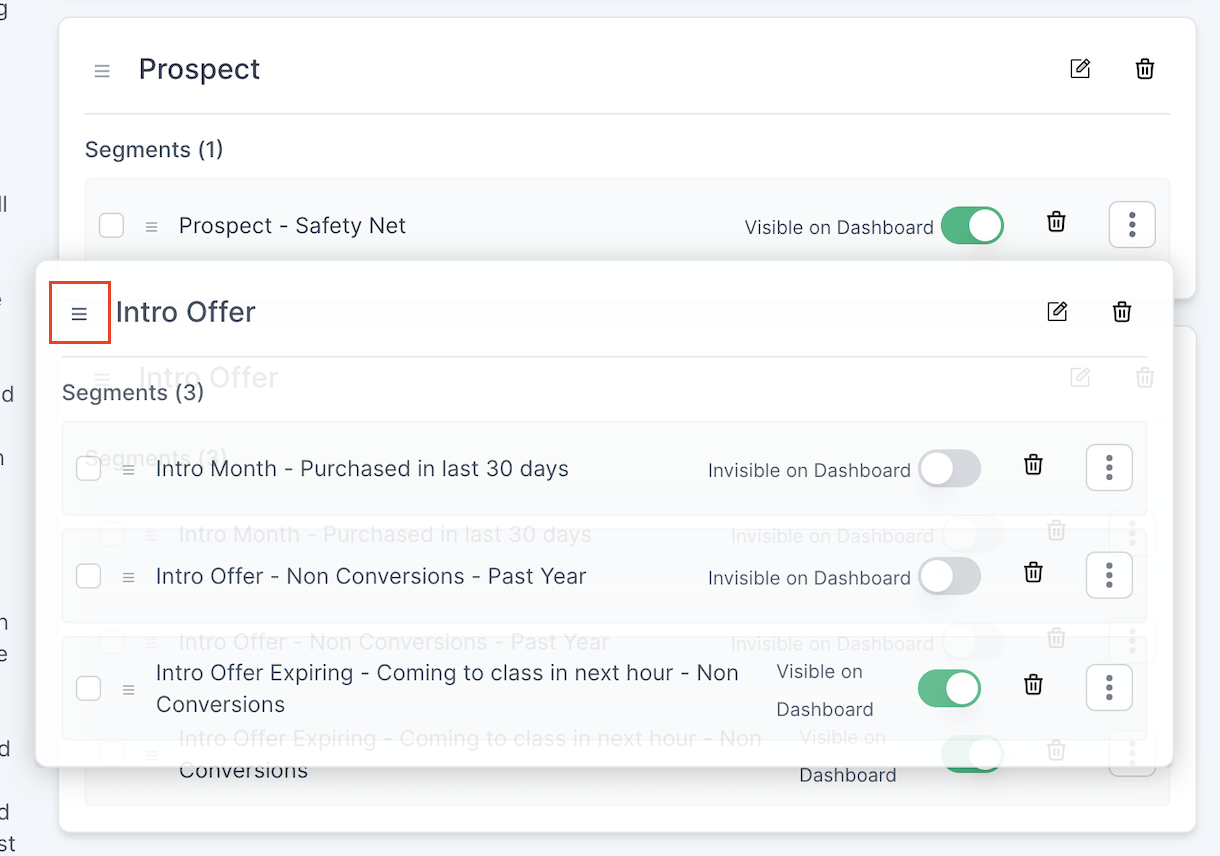
Re-order segments within a category
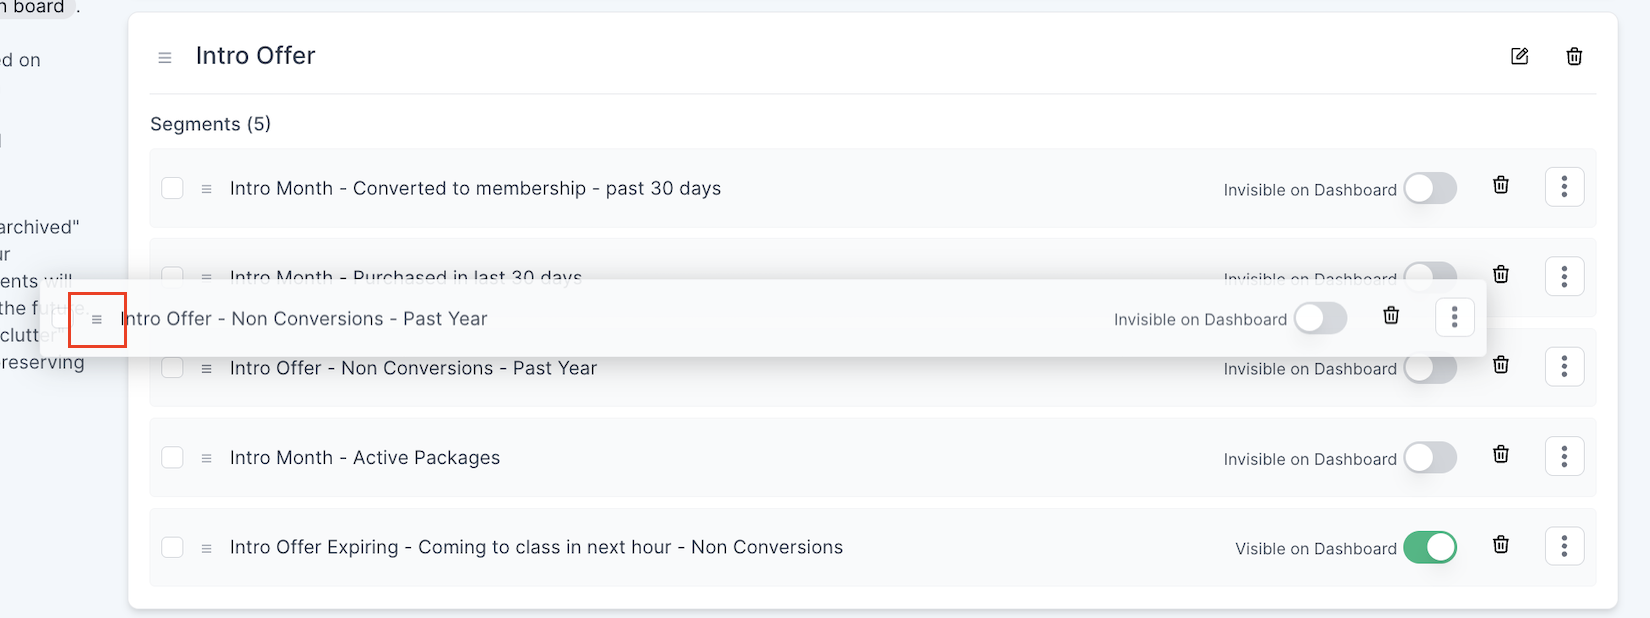
Segments within an assigned category can be re-ordered, controlling the position the segment appears within the assigned category container on your dashboard, and order of the segment within your custom segment dropdown menu on the client list page.
- Click the 3 stacked lines icon located on the left side of a saved segment.
- Drag the segment up or down into desired position
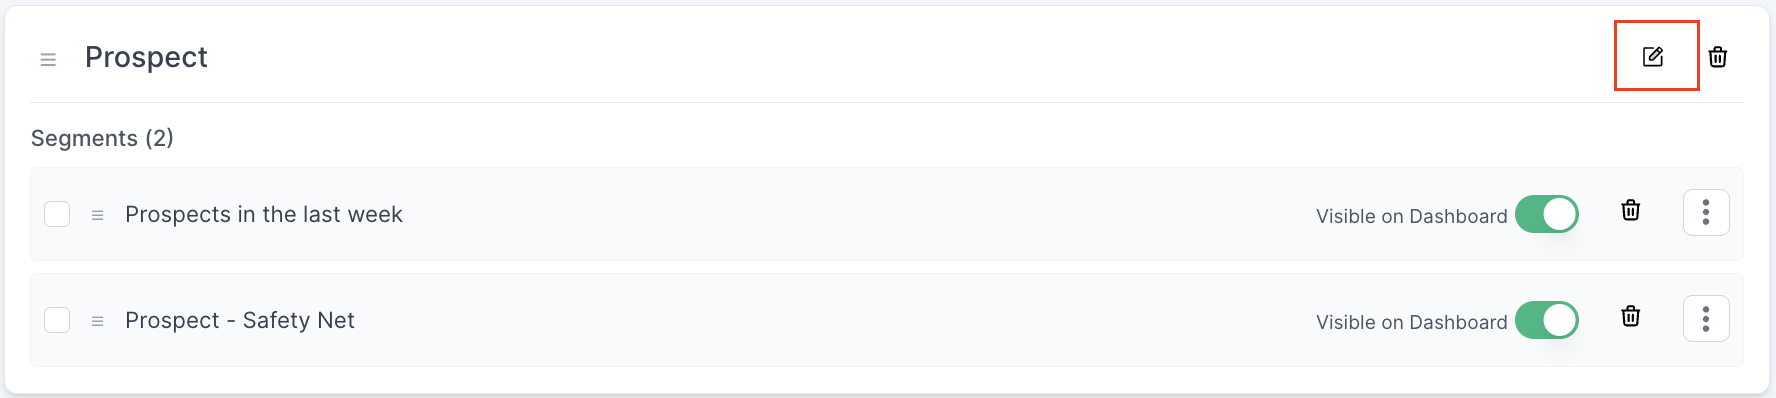
Editing segment category name
Segment categories can be renamed after saving. To edit a segment category name:
- Click on the pencil icon to the right of a category name
- Edit the category name and save
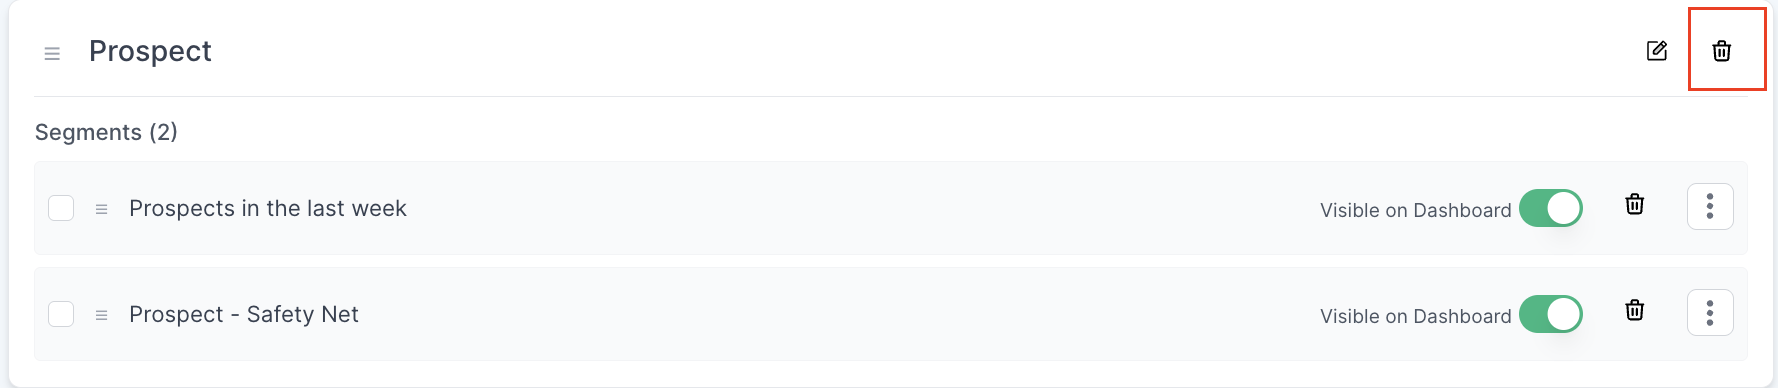
Delete segment category
Deleting a segment category will result in all segments currently in the category being marked as uncategorized
To delete a segment category:
- Click on the trash icon to the right of a category name
- Confirm deletion
Individual and bulk segment actions
Some segment actions can be conducted to single segments or bulk actions on the Manage Segments settings page.
Individual segment actions
3 icons/actions are available to the right of each segment name:

- Visible on dashboard: When the toggle is green, the segment will be visible on your dashboard.
- Archive/Unarchive: The trash icon allows you to archive a segment, removing the segment from your client list page, and dropdown menu for importing a segment when creating an automation. To unarchive the segment, you can click the icon again.
- Stacked dots icon: Assign the segment to a category
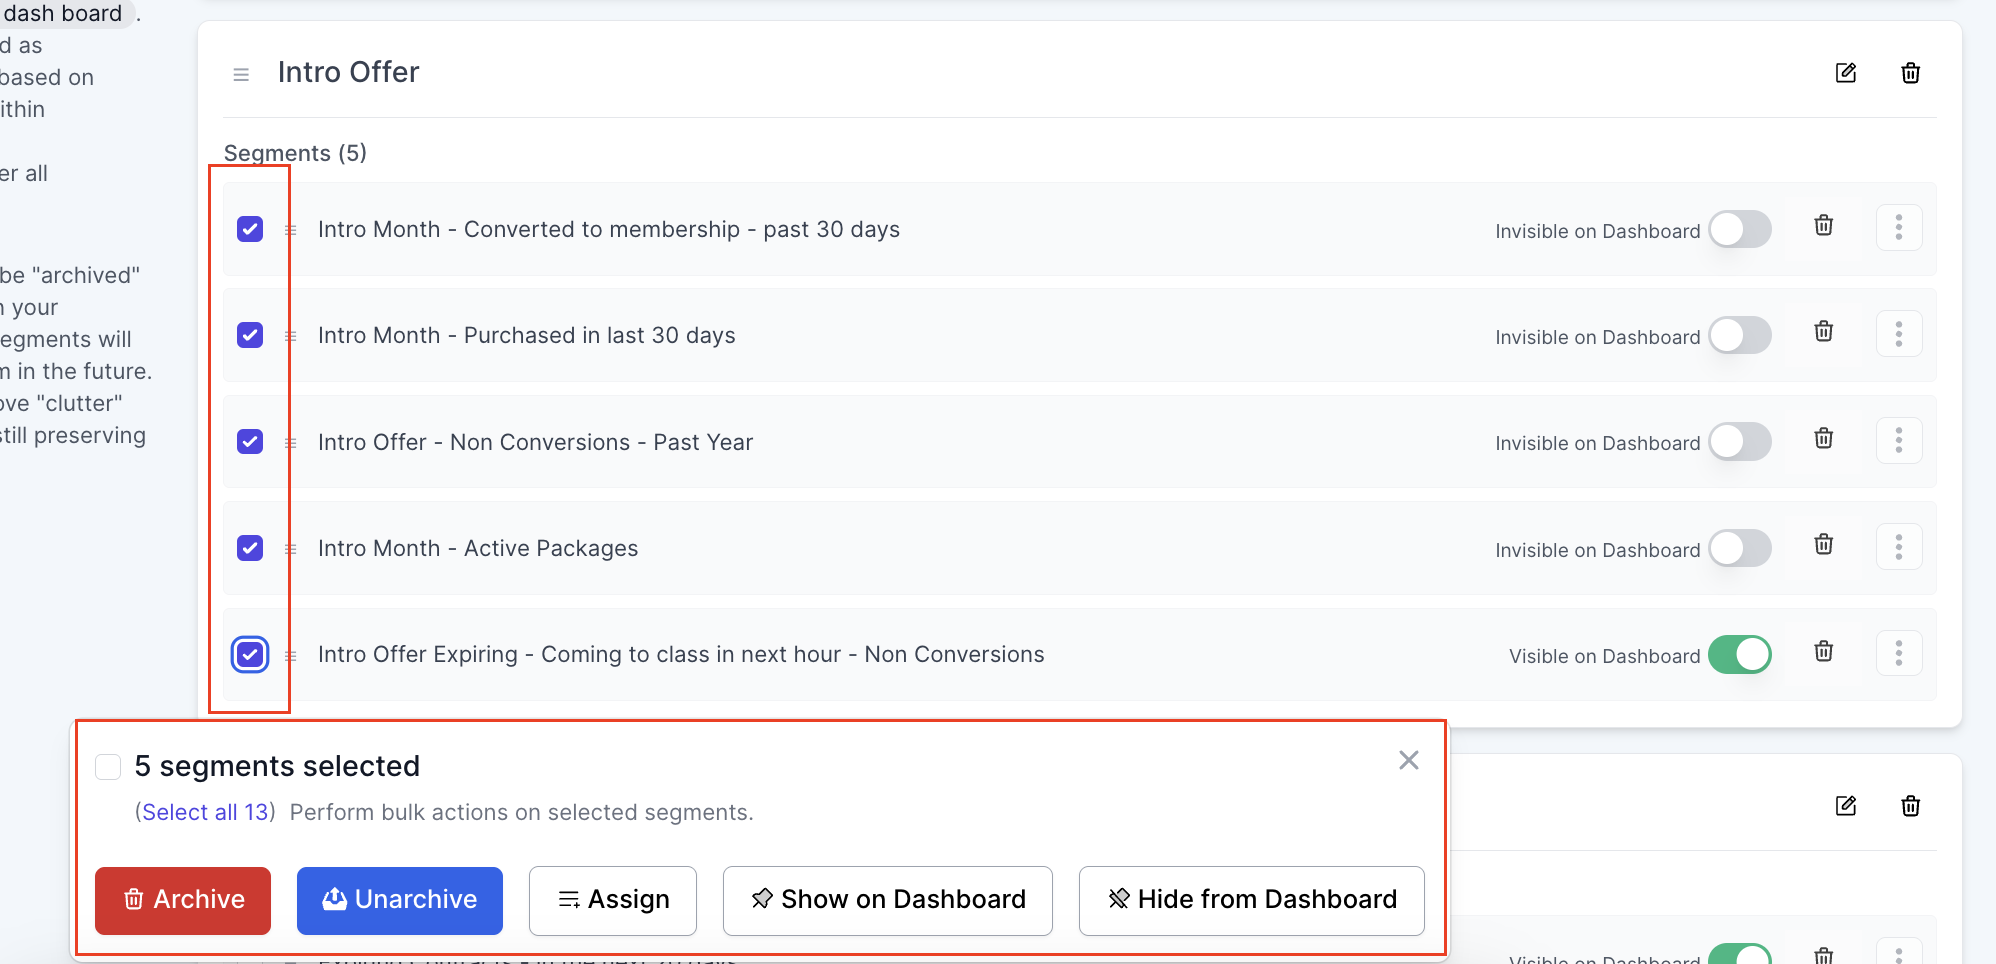
Bulk segment actions
Segment actions can also be conducted in bulk by clicking on the checkbox located the left of the segment names, and selecting your desired action.